Monday, June 27, 2011

My L.A. Experience


I decided to take a trip across the country to visit a close friend of mine who recently moved to Santa Monica, a town located right outside of L.A. I was thrilled to find out the Tim Burton exhibit had opened at LACMA (Los Angeles County Museum of Art) and since I'm such a huge fan, I made sure to visit the exhibit. It was definitely one of the best exhibition's I've seen. There were more than 700 drawings, paintings, films, puppets and costumes that included the infamous Edward Sissorhands outfit (one of my favorite films). There was so much to look at, so many sketches and drawings from his childhood, of characters from some of his popular films like Beetlejuice, The Nightmare Before Christmas & Alice in Wonderland...just to name a few. Overall, I thought the exhibit was astounding, comical and a little wacky- a must see if you get the chance to view it!

During my visit, I also got the opportunity to attend a flea market.
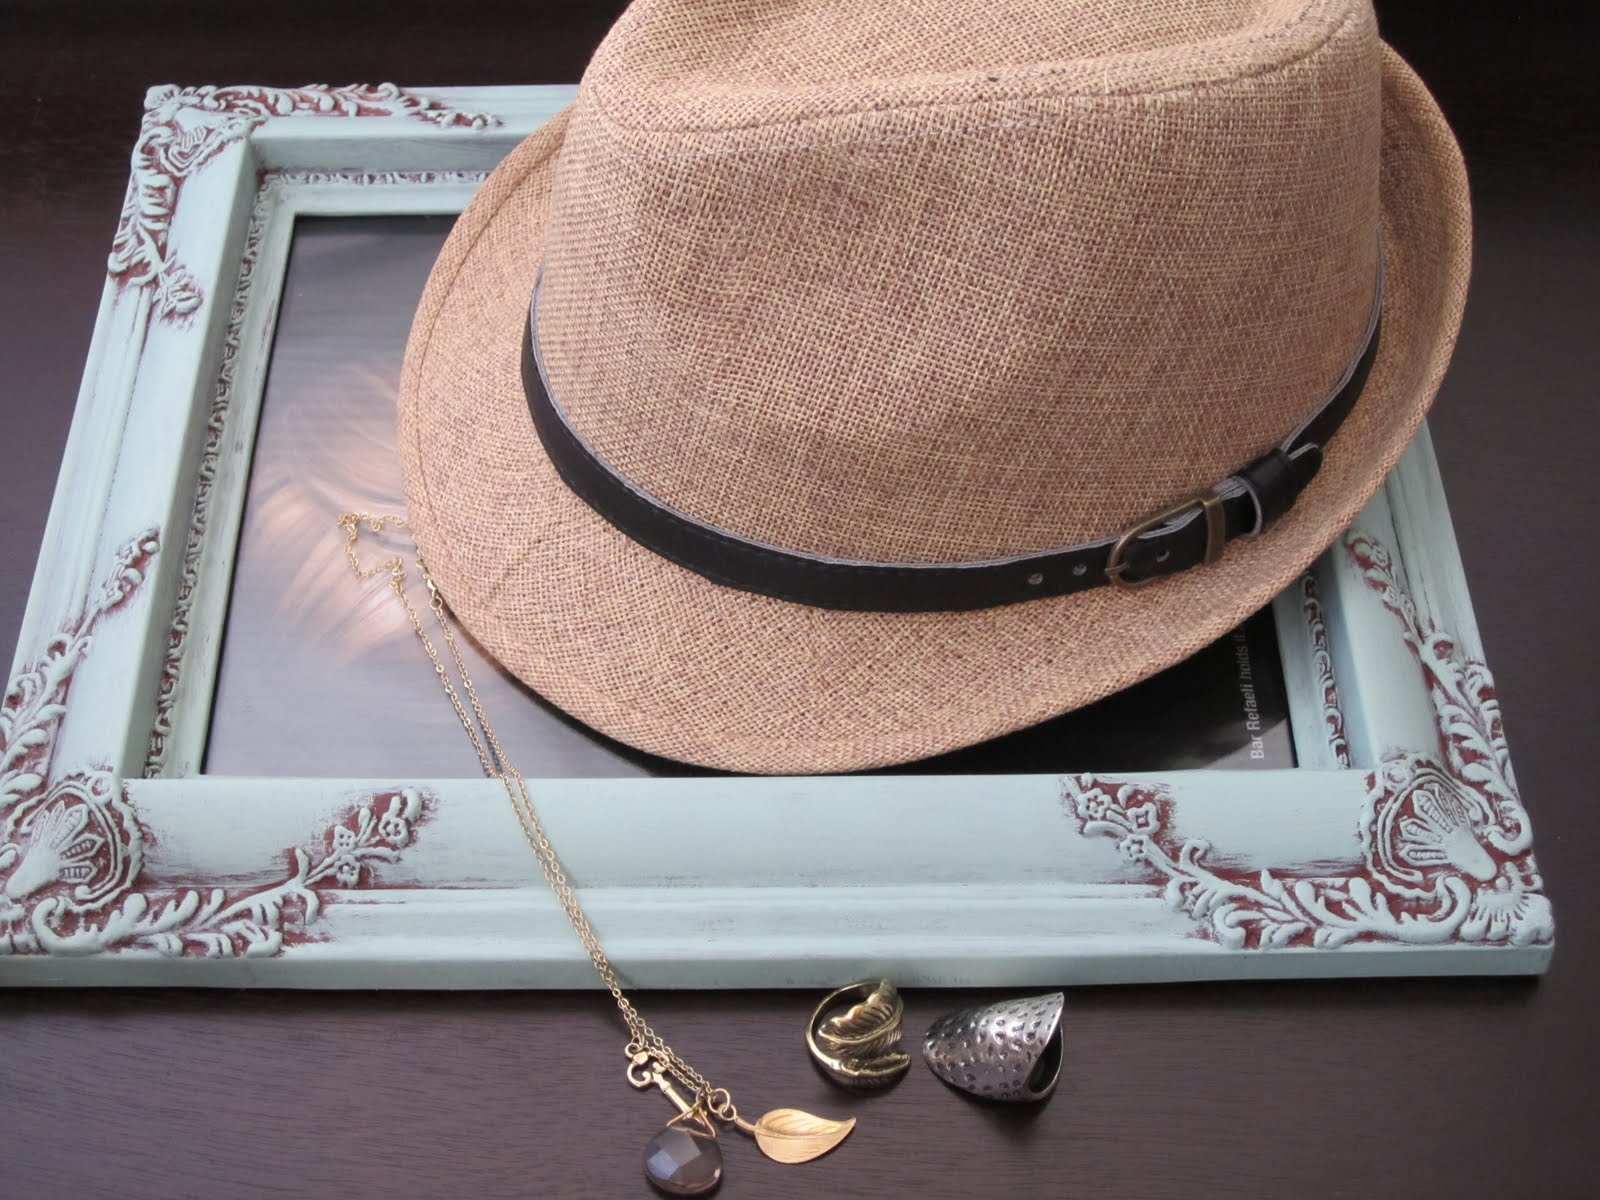
This flea market was different from the ones I've gone to in Ohio- there were no dusty trinkets, musty smelling clothes or broken toys. Instead, I found tons of really cool vintage items that included gently used shoes & clothing, shabby chic furniture, one of a kind artwork and handmade jewelry- I was in heaven! And not to mention everything was so cheap! I ended up purchasing a hat, picture frame, necklace and 2 rings for only $50. This is definitely worth attending if you are ever in L.A.
Thursday, April 7, 2011

DIY Project: Stylish Chalkboard

My goal this year is to organize my craft room which is a tough task given all the craft stuff I've collected. I wanted a way to nicely display my "to-do list" on some type of stylish board that complimented the color scheme in the room. I really like the look of framed chalkboards and decided to make one on my own. The project was super easy and I couldn't be happier with the results! SUPPLIES: Picture frame, chalkboard paint, magnetic paint (paints can be bought at home depot) DIRECTIONS: Start by painting 3 coats of the magnetic paint on the glass portion of the picture frame. Wait 30 min. between coats before applying the next coat. After your third coat, wait 24 hours to dry and paint 3 coats of the chalkboard paint. I just love the resulting look- it's functional, yet stylish! Stay tuned for more pictures of my craft room as I try my best to get it organized :)

Thursday, March 24, 2011

What I Paint To

I thought I'd share the newest CD I bought...yes, that's right, I'm probably one of the few that still purchase CD's. Maybe I'm a bit old-school, but I enjoy reading the CD covers and looking through the pictures. The album is called "Lungs" by Florence + The Machine and their style has been described as being a combination of various genres, including rock and soul. It's not often I come across an album that I can play on repeat all day long which is basically what I've been doing lately while I paint :) They are definitely worth checking out!

Tuesday, February 22, 2011

Accessory Review


I wanted to share my latest Etsy purchase with you- the “Olivia Feather Headband” which is created by Kaang. I can’t get enough of headbands and have been searching for one with feathers that was eye-catching, but not too dramatic. I came aross Kaang’s shop and instantly fell in love- all of her headbands are stunning. I actually had difficulty making a selection and finally settled on one with fabulous peacock feathers. Every time I wear it, I get tons of compliments. It’s classy, unique & a little funky- just my type of accessory.

Friday, October 29, 2010

Stylish Travel Mugs

I'm excited to share my newest product offering- stylish travel mugs that are eco-friendly and are fun to use, especially at the office! I'm so excited about these items because they not only help reduce waste since they are re-useable, but they help convey your personal style. I developed a set for my own personal use and I've received a ton of compliments...I now find an excuse to use them whenever I can :) Here are a few of my favorites:


Tuesday, September 14, 2010

Alaskan Adventure

To celebrate our 1 year wedding anniversary, my husband & I decided to embark on an Alaskan cruise, filled with lots of adventure. We both love nature and the outdoors, so Alaska seemed like the perfect destination.


Our favorite part of the trip was our glacier trekking experience- I highly recommend you try it if you like adventure. We started off by being fitted with proper trekking gear from head to toe- snow pants, jacket, boots & gloves. Once we were dressed and ready to go, we were escorted into a helicopter, which is the only way to get to the glacier. This was my first time in a helicopter and I got the opportunity to sit in the front, next to the pilot, which provided me with breathtaking views of the Alaskan scenery.

Once we landed on the glacier, we were then fitted with helmets, ice picks & “cramp-ons” that are razor sharp cleats that attach to the bottom of our boots.

From there, we trekked across the glacier for two hours where we learned different techniques for maneuvering around the steep inclines and slopes of the glacier.

The colors of the glacier included pure white & ice blue- a truly beautiful environment. The streams of running water carving their way through the glacier provided our drinking water…and I have to say, it was the coldest & purest water I’ve ever tasted!

Wednesday, August 11, 2010

Getting My Hands Dirty

We moved into our house 3 years ago and my favorite “renovation” project to date was our updated first floor bathroom (really, this is the only renovation we've done...but it's still my favorite!). I love watching all the design shows on HGTV, but I feel like I have no ideas when it comes to decorating my own home. So to help keep me focused, I selected a few inspiration photos:


I became obsessed with vessel sinks and had to have one! They add so much interest to the space and in my opinion, they are beautiful & functional pieces of art :)

Here is the “before” look:


The bathroom had hideous floral wall paper from floor to ceiling and let me tell you, that was a hoot to take off. For those dealing with wall paper, save yourself a lot of hassle and rent a steamer…the paper & glue slides right off (for the most part!).

After a lot of hard work, lost sleep over paint color decisions…this is how the space turned out:

And I couldn’t be happier! I painted the walls a warm beige and I kept the existing vanity, but I decided to paint it a rich, chocolate brown. I picked out a bronze colored vessel sink and had a beautiful granite counter top installed. My husband was a little concerned about the paint colors I selected, but once he saw the look come together I won over his approval.